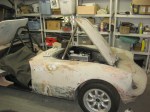
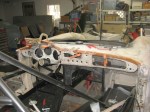
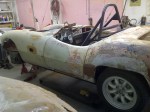
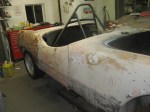
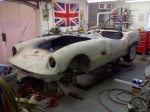
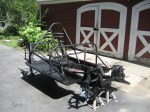
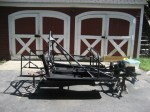
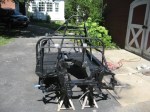
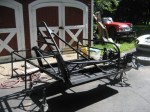
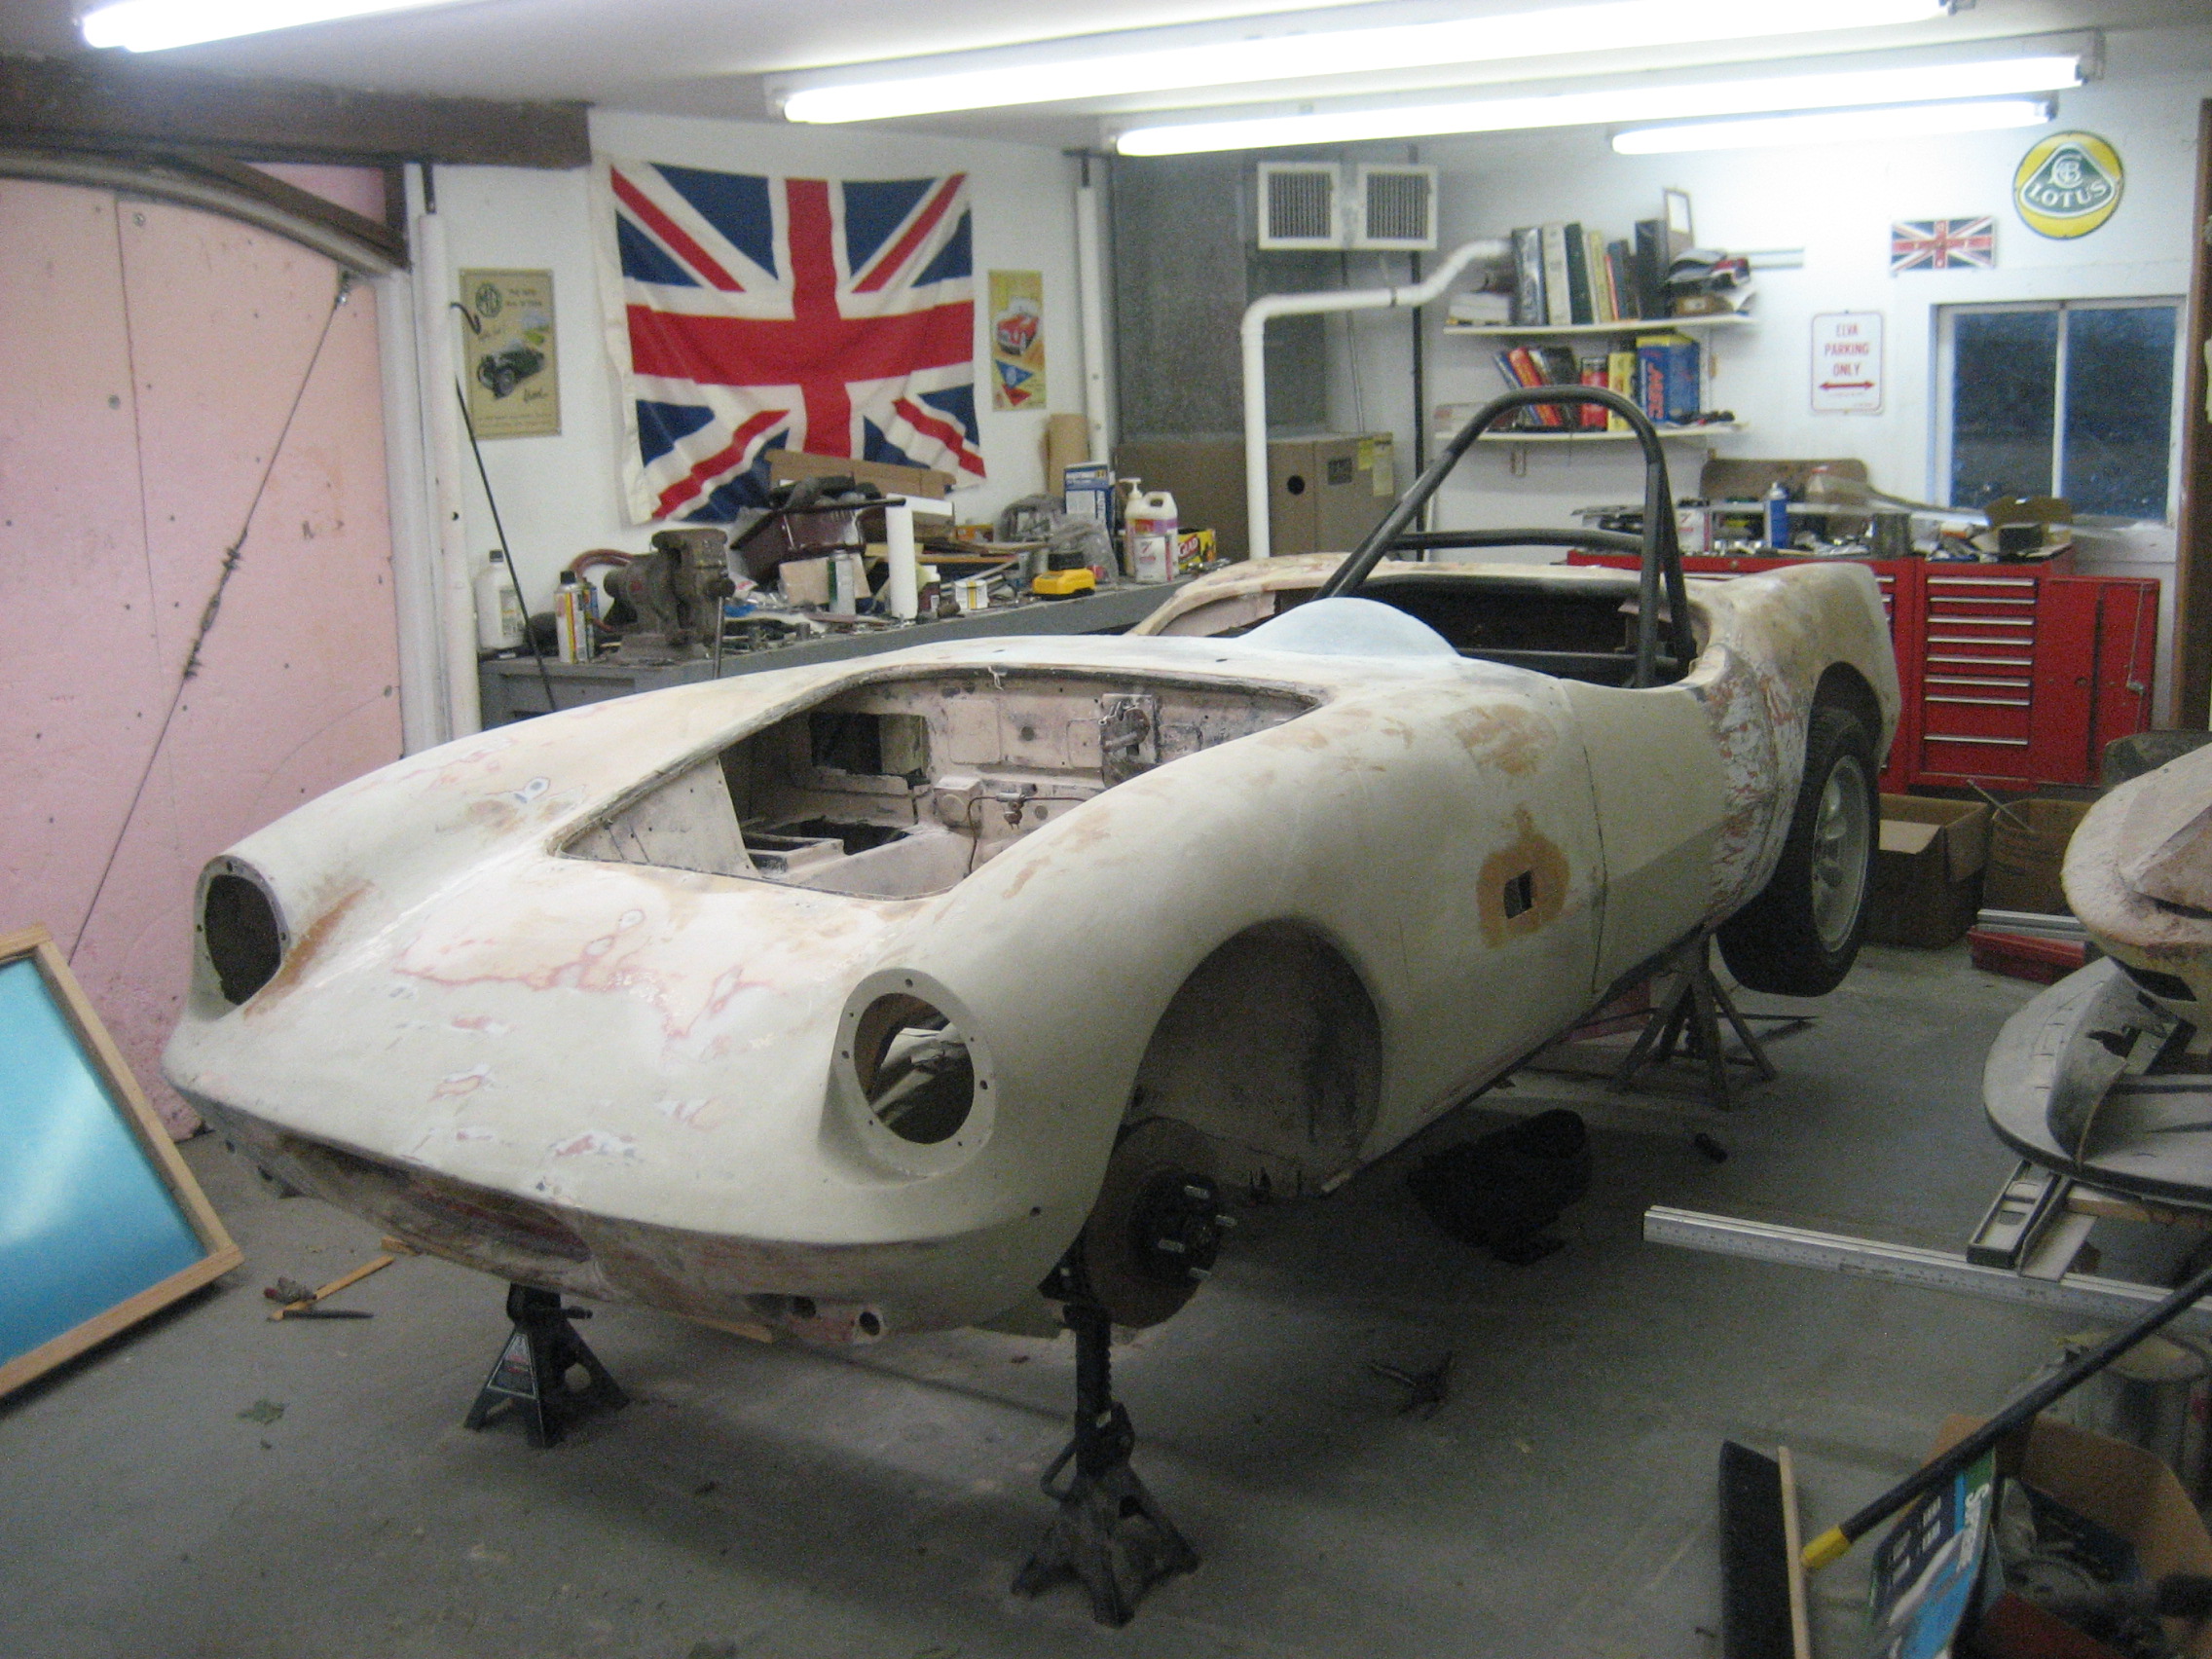
Well, I started by lowering my standards: the event at the Glen would not require that the car be registered, and as it was not a real race, it didn’t even need to be race-worthy. It just had to start and run and stop. I figured making it green and doing a nice job of it might be a nice goal, but that too was a reach.
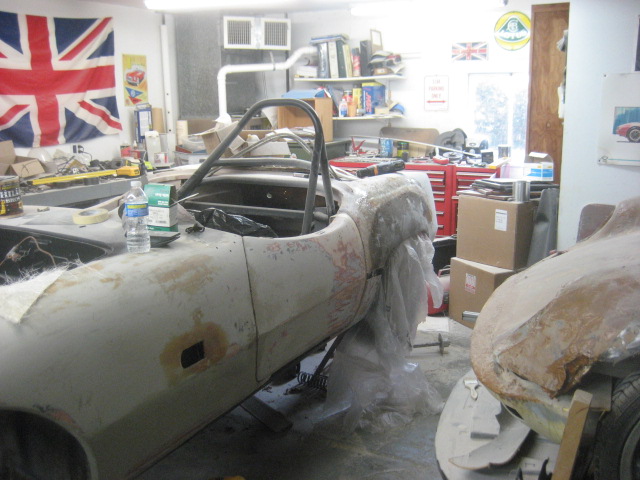
Every part of the car has been tested mechanically at this point, and it has been apart and back together so many times that I am pretty sure if I finish the paint job, it will run, stop and steer. What I am learning is that even if all the individual parts worked on the bench, and were shown to work in car position, it does not mean they will all necessarily do that in car position all at the same time.
Several interesting problems emerged which hampered my completion:
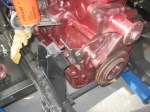
- The starter position interfered with the placement of the engine in the chassis. This required the transmission to be removed and all the innerds placed into another bell housing. So the whole transmission was re-built in the process. The rear backing plate between the engine and the flywheel-clutch assembly also had to be changed. Fortunately, I had one of those, but I did not have one for the street engine. This was also made easier by the fact that the body is not yet fixed in place, and the engine hoist was in place.
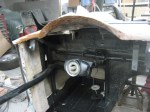
- The original MG engine-mounting brackets are at a different angle than the Elva chassis points meant to receive them. On the right, side the needed change was easy to make (oval out two holes), but on the left side, the mounting bracket required significant welding to add material and move a bolt hole to a place which did not exist on the original metal bracket. Then once that was done, I had to take it back apart to paint it.
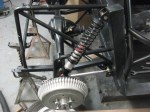
- The bolting flanges of the new wheels hit the new front brake calipers, just enough so that the car would not roll. This will require spacers be made, but two washers under each lug are doing the job for now.
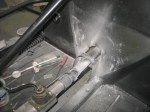
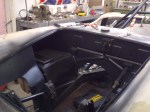
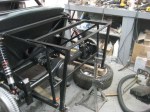
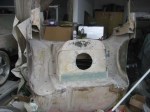
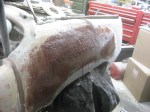
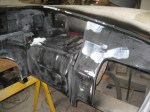
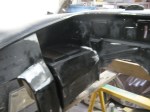
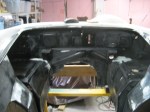
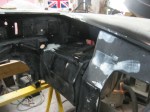
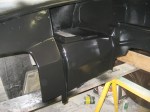
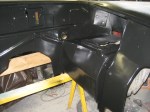
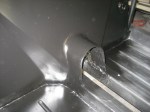
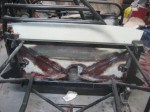
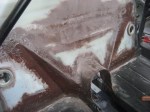
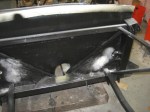
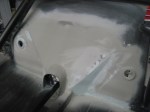
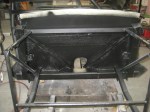
- The full compression of the rear suspension (without the springs in place) was shown to cause the driveshaft to hit the new rear bulkhead at the top of the transmission bulge. The interfering part of the bump was cut out and re-glassed to make it clear the driveshaft under any circumstance, such as the full compression of the suspension.
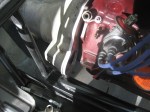
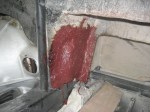
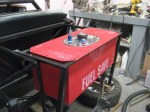
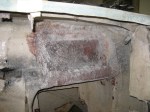
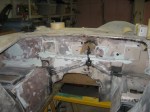
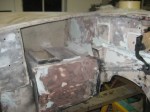
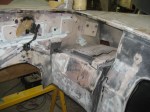
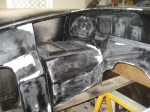
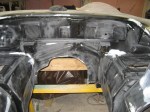
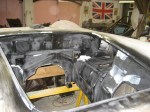
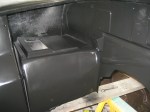
- The new gear-reduction high torque starter didn’t fit between the distributor and the chassis, (at first), but I was able to make an easy adjustment to the mounting position (clock it over 90 degrees) to make that clearance. Now it just interfered with the fiberglass inner fender well, right next to the battery box. This led to more fiberglass cuts and re-glassing the area around the starter. I still have not had a chance to smooth it out in the engine bay and re-prime the area. It will need one more lay-up before the primer.
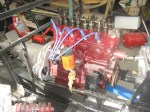
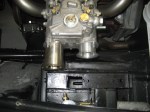
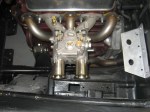
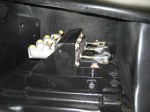
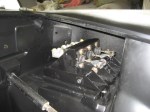
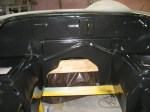
- Finally, the engine was dyno-ed on the bench, last year, but the engine had never been in car position before, so I hadn’t been able to tell what the velocity stacks might run into. It turned out to be the pedal box, right next to the accelerator pedal. I am going to my engine guy’s shop later today to pick up a pair of shorter horns.
While 4 hours from home and 3 hours from the Glen, the Durango’s input shaft snapped, leaving me and the boy stranded in the middle of nowhere. AAA paid to tow it to a Dodge dealer who offered to sell me a Jeep Liberty, which could finish the trip, or charge me $4,000 for a new transmission. AAA then towed it halfway home on Monday and I had to pay the last 120 miles, as well as renting a U-Haul truck to bring the unfinished racecar home in the rain, (and snow).
A good time was had by all.


 Posted by elvamk5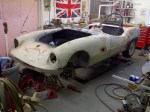
 Elva Courier MkIII Restoration Blog