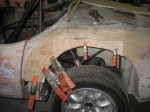
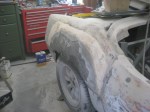
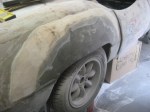
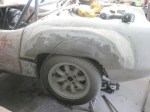
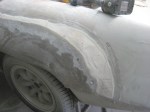
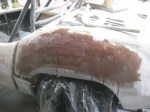
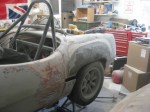
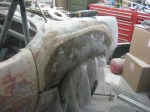
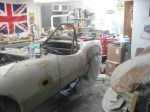
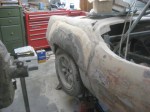
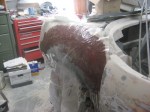
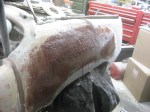
As most of you know, the original Elva Courier had 3-inch wide wheels, and a little styling cue called fender skirts, which like the tailfins, have gone away in recent years. However, what this means is that if anyone wants to race an Elva Courier with wider than 4.5 inch wheels, (as I do), and they want the car to appear to have the original styling, they must go through this process. I bought these flared fender skirts from Butch Gilbert, but then added another 1/2 inch of width using balsa core to make the wheels and tires clear the fenders even if both sides were pushed all the way up at the same time. You guessed it, this was much more work than I had thought it would be!
Cleaning up the firewall
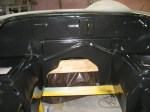
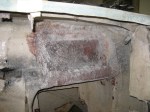
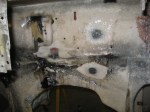
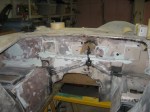
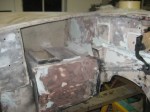
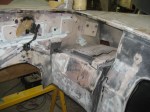
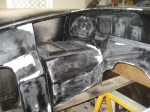
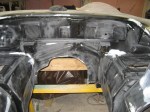
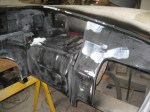
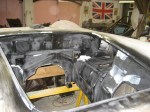
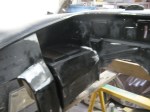
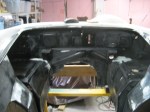
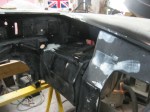
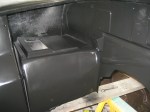
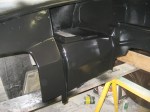
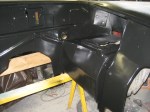
December 13, 2011I’m not going exactly in chronological order here. This work on the firewall was actually done earlier, but it fits the story here anyway. The firewall and engine bay looked absolutely horrible when I got the car in pieces. I had the whole inner area sandblasted with plastic media so I could start from scratch. But then, because it was not going to be made into a street car anymore, except for an occasional drive, it would not need some of those extra holes, like for a heater, and other things. Also, some previous owner seems to have thought he was going to switch it over to right-hand drive, and he cut a big hole in the right side of the firewall, which I had to fill in! The work was far more laborious than I had ever expected, (what else is new) and so here are the highlights:
 Leave a Comment » |
  British Car, Elva, Fiberglass, Restoration, Vintage Racing |
  Permalink
 Posted by elvamk5
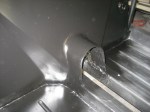
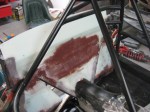
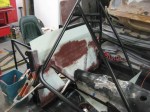
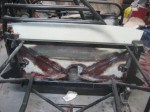
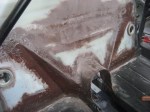
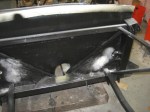
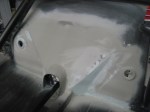
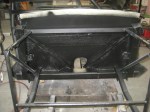
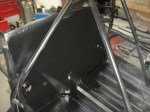
Making a new rear bulkhead
December 13, 2011In my previous post, I showed how the whole chassis had to be dis-assembled one last time to be re-primed with several coats of epoxy primer. In most of those photos, the chassis had no rear bulkhead. Then in the last two photos, the new bulkhead was starting to take shape. Here are a few more details of that process:
Leave a Comment » | British Car, Elva, Fiberglass, Restoration, Vintage Racing | Permalink
Posted by elvamk5
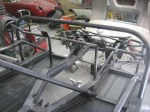
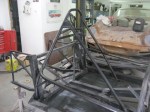
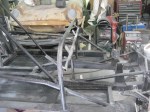
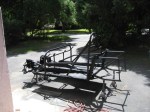
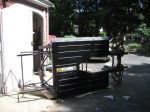
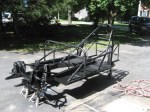
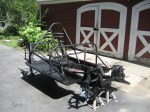
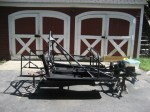
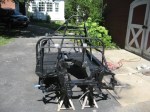
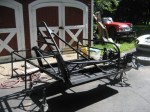
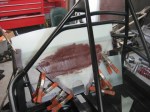
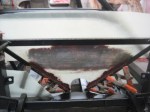
Final dis-assembly
December 13, 2011Really, I hope this is the last time. This past summer (2011) I finally decided that everything had been properly pre-assembled well enough, that I could put the final coats of DP-90 primer on all the bits and pieces. Damn, there are a lot of bits and pieces! Individually painting all of them was more work than I expected, and took a lot longer than I’d hoped, but here we go:
Leave a Comment » | British Car, Elva, Fiberglass, Restoration, Vintage Racing | Permalink
Posted by elvamk5
 Elva Courier MkIII Restoration Blog